The Scientists Shot
May 30, 2020
The Scientists Shot – Making Of
“The Scientists” is part of our short Loopdeloop project on the subject of “outside”.
Back in October, we submitted our entry for Loopdeloop Israel, and had it displayed with all of the other entries at the Outline festival, which took place in Jerusalem.
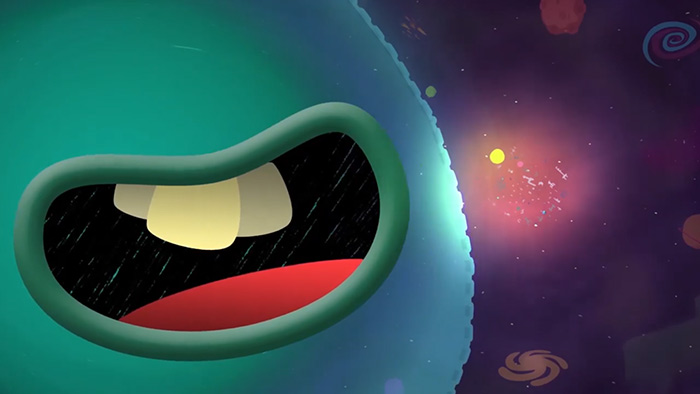
But way before that, we had to settle on what the subject “outside” meant to us.
So we gathered some of our best ideas, prepared storyboards for them, presented them to each other, and settled on the best one to turn into a videoboard.
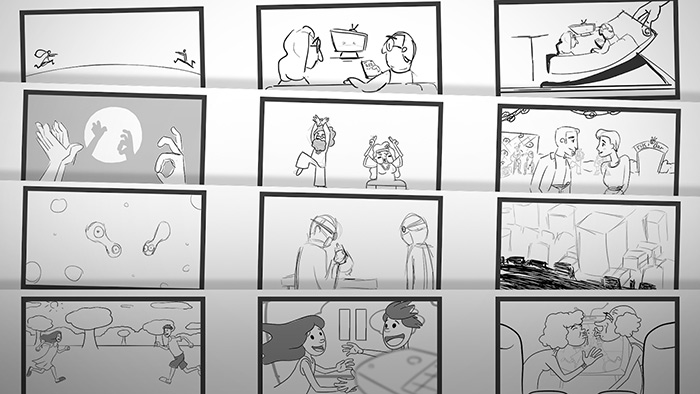
Once the videoboard was done, we each chose a shot, and set out on designing and eventually animating it.
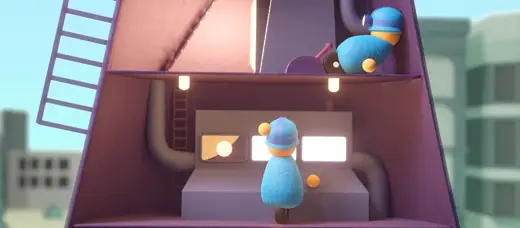
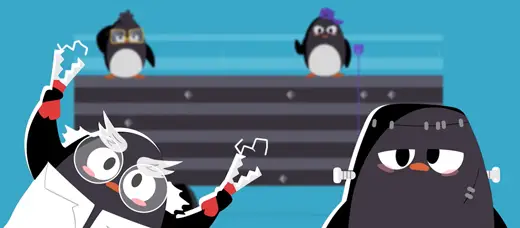
“The Scientists” was the second shot of the animation and contained a combination of 3D animation made in Blender, with 2D animation made in After Effects.
In this post, we’ll be focusing on the benefits and hurdles we encountered while making that shot.
First of all, the design.
After borrowing references from various artists and art styles, the characters were designed with a sketchy background to form a general idea for how the shot will be laid out.
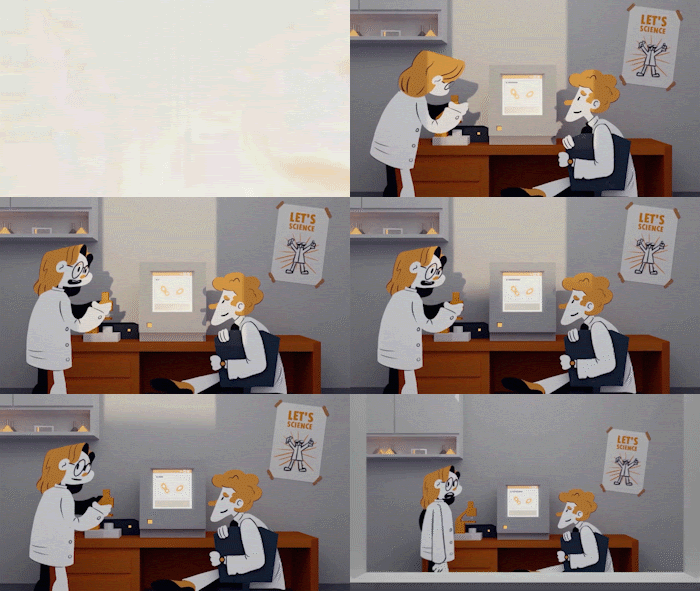
The sketch was then brought into Blender and a proxy 3D environment was made. Afterwards, the rendered environment was brought into Photoshop, where we played
around with its colors and layout until it seemed coherent with the art style we aimed for.
That image was then brought back into Blender as a guideline.
We repeated this process until the background and the characters seemed to inhabit the same world and art style.

After the design was done, the characters were broken down into different parts, specifically with the animated parts in mind.
These parts, and some new ones we made, were then brought into After Effects, where they were animated to the timing of the videoboard.
Other things, like the computer screen, were broken off to be animated separately as well.
The first hurdle we had to overcome was the fact that these characters were two-dimensional, but inhabited a three-dimensional space.
To make this illusion work, the 2D animations were rendered with the space they inhabited in mind. Which means that if a hand, for example, was in front of an object, but the body was behind it, the hand and the body would be rendered as separate files, each with their own alpha matte.
These videos are then layered around the 3D environment inside Blender.
This trick allowed us to move the camera in 3D space while the animations were being played.
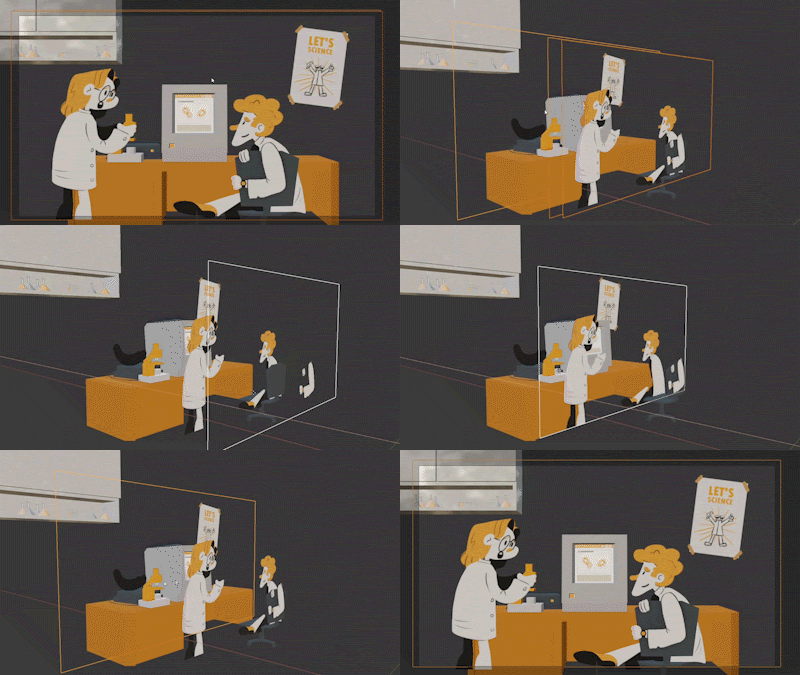
Note that, for both camera and lighting to work with this kind of setup, they should always aim towards the object – in our case, the Y-axis.
Any light or camera movement that breaks out of this axis, will instantly break the illusion of depth and reveal how the shot is laid out.
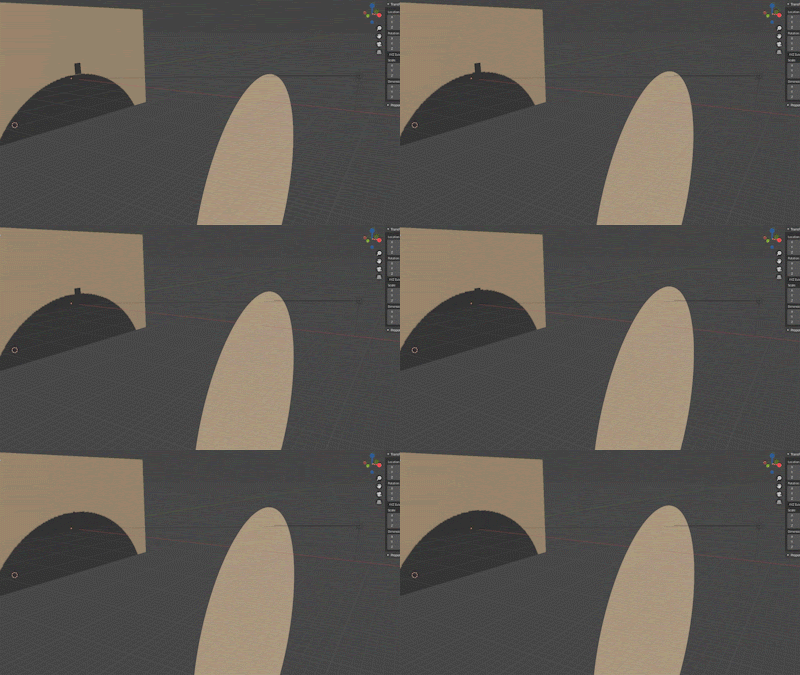
After we placed the characters inside the 3D space, and the camera move was added in, the only thing to add was the obscuring shadow that looms over all of the shots in the project.
This was easily achieved by adding a disc to obscure the 3D light in the project.
Extra tip for all of you who made it to the end: for the 2D animation to look good when the camera is zoomed-in, both the video files and 2D assets must be as big as you want them to show up on screen. Which means that, if your video is 1920×1080 and you want to zoom in, the video file must be at least twice as large in order to look good.
That means longer rendering times and heavier files should be taken into consideration when attempting to replicate this style of animation.
You can watch the finished video here:
We hope you enjoyed this post!
For more content and informative posts like this, sign up to our newsletter and follow us on social media!

